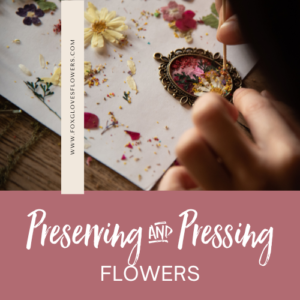
Flowers, with their fleeting beauty, often leave us wishing we could capture their ephemeral perfection. Pressing flowers is a simple yet rewarding method of preserving these delicate wonders, allowing you to enjoy their beauty for years to come. This guide will walk you through the process of pressing flowers and explore a range of creative projects you can undertake once your blooms are beautifully preserved.
Step-by-Step Guide to Pressing Flowers:
What you’ll need:
- Fresh flowers: Choose flowers that are relatively flat and not too thick, and ideally pick them in the morning before the heat of the day. Newly opened blossoms generally work best.
- Flower press: You can purchase a commercially made flower press, or create your own using heavy books and absorbent paper (blotting paper or newspaper works well).
- Absorbent paper: Newspaper or blotting paper is ideal for absorbing moisture.
- Heavy books: These provide the pressure needed to flatten the flowers.
- Tweezers (optional): Helpful for arranging delicate flowers.
Steps:
1. Prepare your flowers: Gently remove any excess leaves or stems that might interfere with the pressing process. Select flowers that are fresh and relatively dry to hasten the process.
2. Arrange your flowers: Arrange your flowers carefully between sheets of absorbent paper. Ensure the flowers are spread out, not overlapping, and are positioned the way you envision them. Layer additional absorbent paper on top.
3. Apply pressure: Place your prepared flower layers inside your flower press (or between heavy books) to start pressing them. Apply even pressure across the flowers.
4. Check and adjust: After a week, gently check for excess moisture. If present, replace the absorbent paper sheets and press again. The moisture content of the flower and the type of paper used impact the length of time it takes to fully press the flowers.
5. Drying: For flowers that are particularly moisture-rich, it can take 2-3 weeks for them to completely dry. For thinner flowers, a week might suffice. Check regularly (every few days) and replace the absorbent paper to keep the flowers dry and prevent mold.
6. Finishing Touches: Once the flowers are completely dry and brittle, carefully remove them from the press. Handle them gently as they are fragile.
Creative Uses for Pressed Flowers:
Once your flowers are pressed, the possibilities are endless! Here are a few ideas:
- Picture frames: Create a unique and personalized picture frame by embedding pressed flowers into the frame or beneath the glass.
- Greeting cards: Decorate homemade greeting cards with pressed flowers, adding a lovely handmade touch.
- Jewelry: Seal your pressed flowers in resin to create beautiful pendants, earrings, or other jewelry pieces.
- Scrapbooking: Create stunning and unique scrapbook pages featuring your pressed blooms.
- Bookmarks: Laminate pressed flowers between pieces of clear contact paper to create beautiful bookmarks.
- Resin art: Embed pressed flowers into resin to craft unique paperweights, coasters, or other decorative items.
- Candles: Carefully adhere pressed flowers to the outside of candles for a decorative touch.
Pressing flowers is a fantastic way to preserve nature’s beauty and unleash your creativity. So gather your favorite blooms and embark on this rewarding craft! Remember to experiment and have fun with the process. Let us know in the comments what beautiful creations you make!


